


So let me first say, if you aren't familiar with Tudor Tailor, and you want to wear lovely clothes from the 1500's based on well researched, thoughtfully built and tested patterns do not stop, go to tudortailor.com now! They have an etsy shop too, and I can't recommend their books enough. That said, they really aren't writing and creating patterns for beginners. I'm a better milliner than I am a sewer. The time it takes to create an entire gown, soup to nuts, is a little beyond my attention span. This dress took me over 4 weeks, I had to break it into small mini projects, as I only sew and make hats for 10-15 hours per week.
By the way, I did not receive any products from Tudor Tailor, or any one else. I purchased the books and patterns myself, and my opinion, is just that, my opinion. Your mileage may vary.
If you don't want to manually enlarge the patterns in the Tudor Tailor book, you can buy them enlarged and ready to use. I used the "Pattern for Women's Tudor Kirtles and Petticoats - Small Sizes by TheTudorTailor on Etsy http://etsy.me/WhBA3a" and there are excellent additional details in the Tudor Tailor book that really helped supplement the instructions in the pattern.
If you do want to transcribe the pattern, I like to get the large office easel paper with one inch grid and tape it together to make a larger piece if needed. Then think back to high school art class, where you copied a picture using a grid. It works well, it's just time consuming.


I got a bias tape maker to help, I have used this gadget way more than I thought I would! I use it frequently for making the bias opening for my Coif hats too. I loved this red silk taffeta so much, and it went so well with the fabric. I'll bet everyone reading this knows what happened when I threw this in the wash! Yep, I forgot to pre-wash my silk, it bled all over the dress! Don't worry, this story has a happy ending, lots of stain remover, about 6 re-washes and the bleeding was mostly gone. The red has also faded in a really nice, well worn way. But I don't recommend that approach for aging your garb!

You can very slightly see the boning through the linen. It doesn't show at all when I am wearing the dress. I took some liberties on how I assembled the bodice, deviating from the instructions in some things like the shoulder seams. By the way, I got this fantastic linen and silk from Renaissancefabrics.net. They specialize in fabrics for garb from medieval through Victorian. Bonus: they ship quickly and are great to work with, sending swatches on request and prompt email responses.
 The skirt taking shape. Getting the trim lines to line up on the skirt was way harder than I planned.
 And pleating. I ended up ripping out the pleats and changing them to cartridge pleats.

 Linen on buckram. I blocked the crown in a dome shape popular in Enland in the late 1500's.
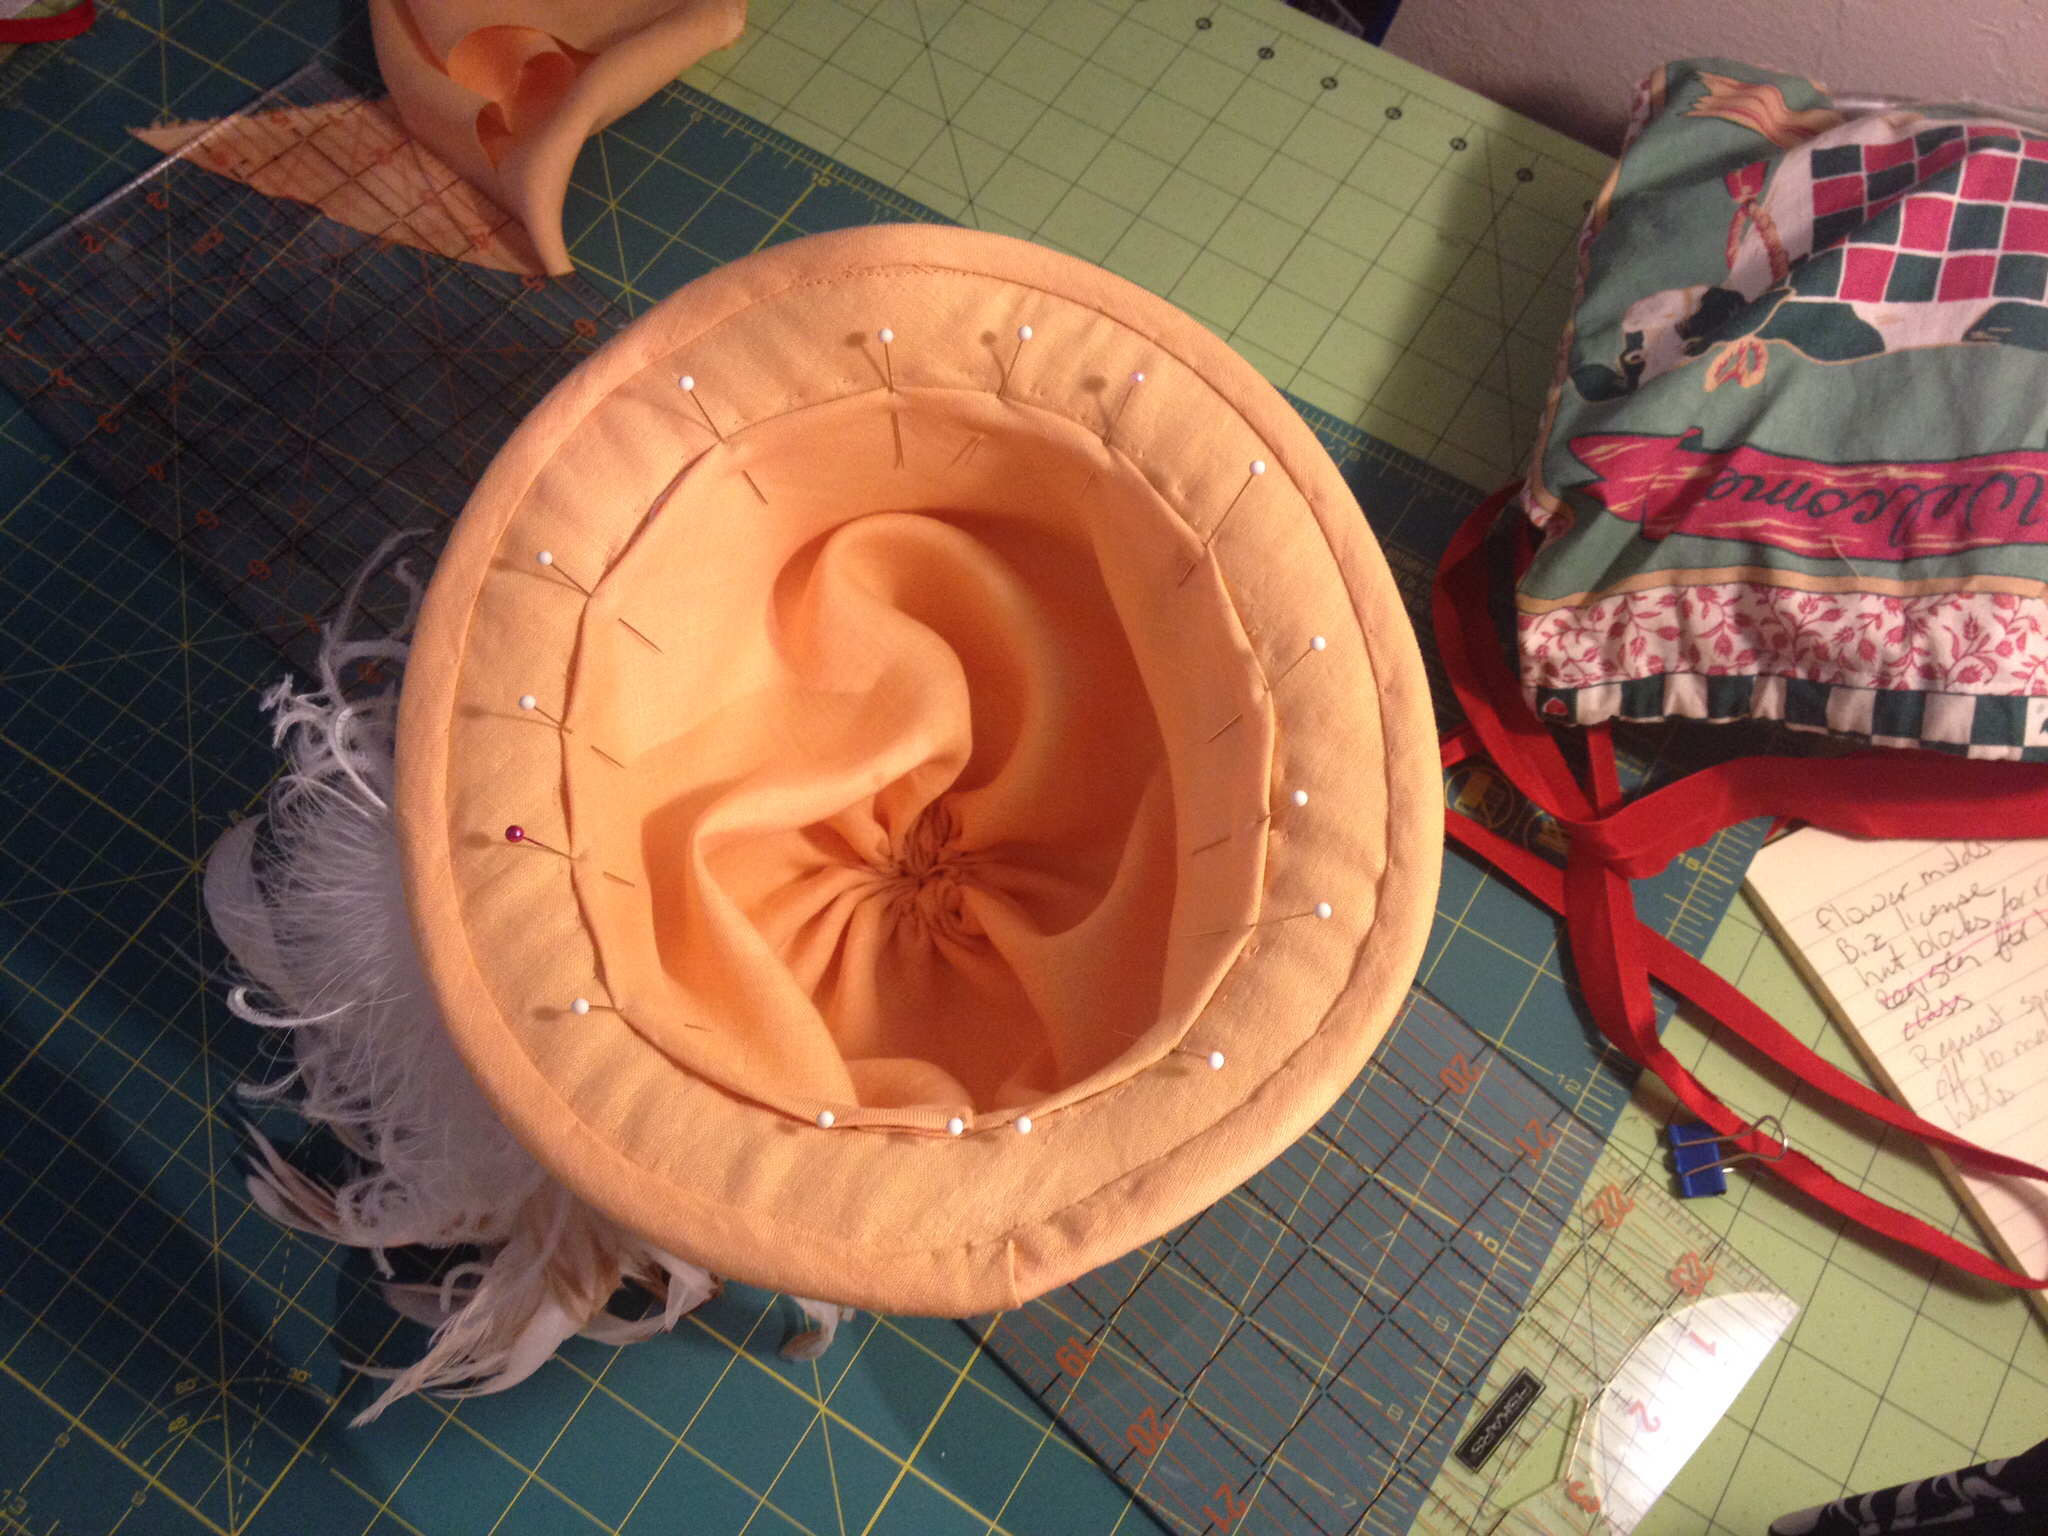


All put together!

I tried it out at the Valhalla Renaissance Faire in South Lake Tahoe, Ca. I made my daughter a dress too, you can tell she had fun with it.
No comments:
Post a Comment