

 |
| Beginner's Guide to Blackwork by Lesley Wilkins |
The reality is, I've never been patient enough to get great results with needlework. Most cross stitch projects I have started languish half finished at the bottom of my work in progress bin. But the Blackwork patterns in the book are relatively straight forward, and by definition, only include one color - black on white fabric.
I decided to start small. A handkerchief seemed like a small enough project. I could use it to cover my nose when walking through dusty sections of the Renaissance Faire.
The book is full of lovely designs, based on the author's extensive research. I selected a simple pattern of a rose with some accent flowers. Tudor roses were very popular in Renaissance Era England.
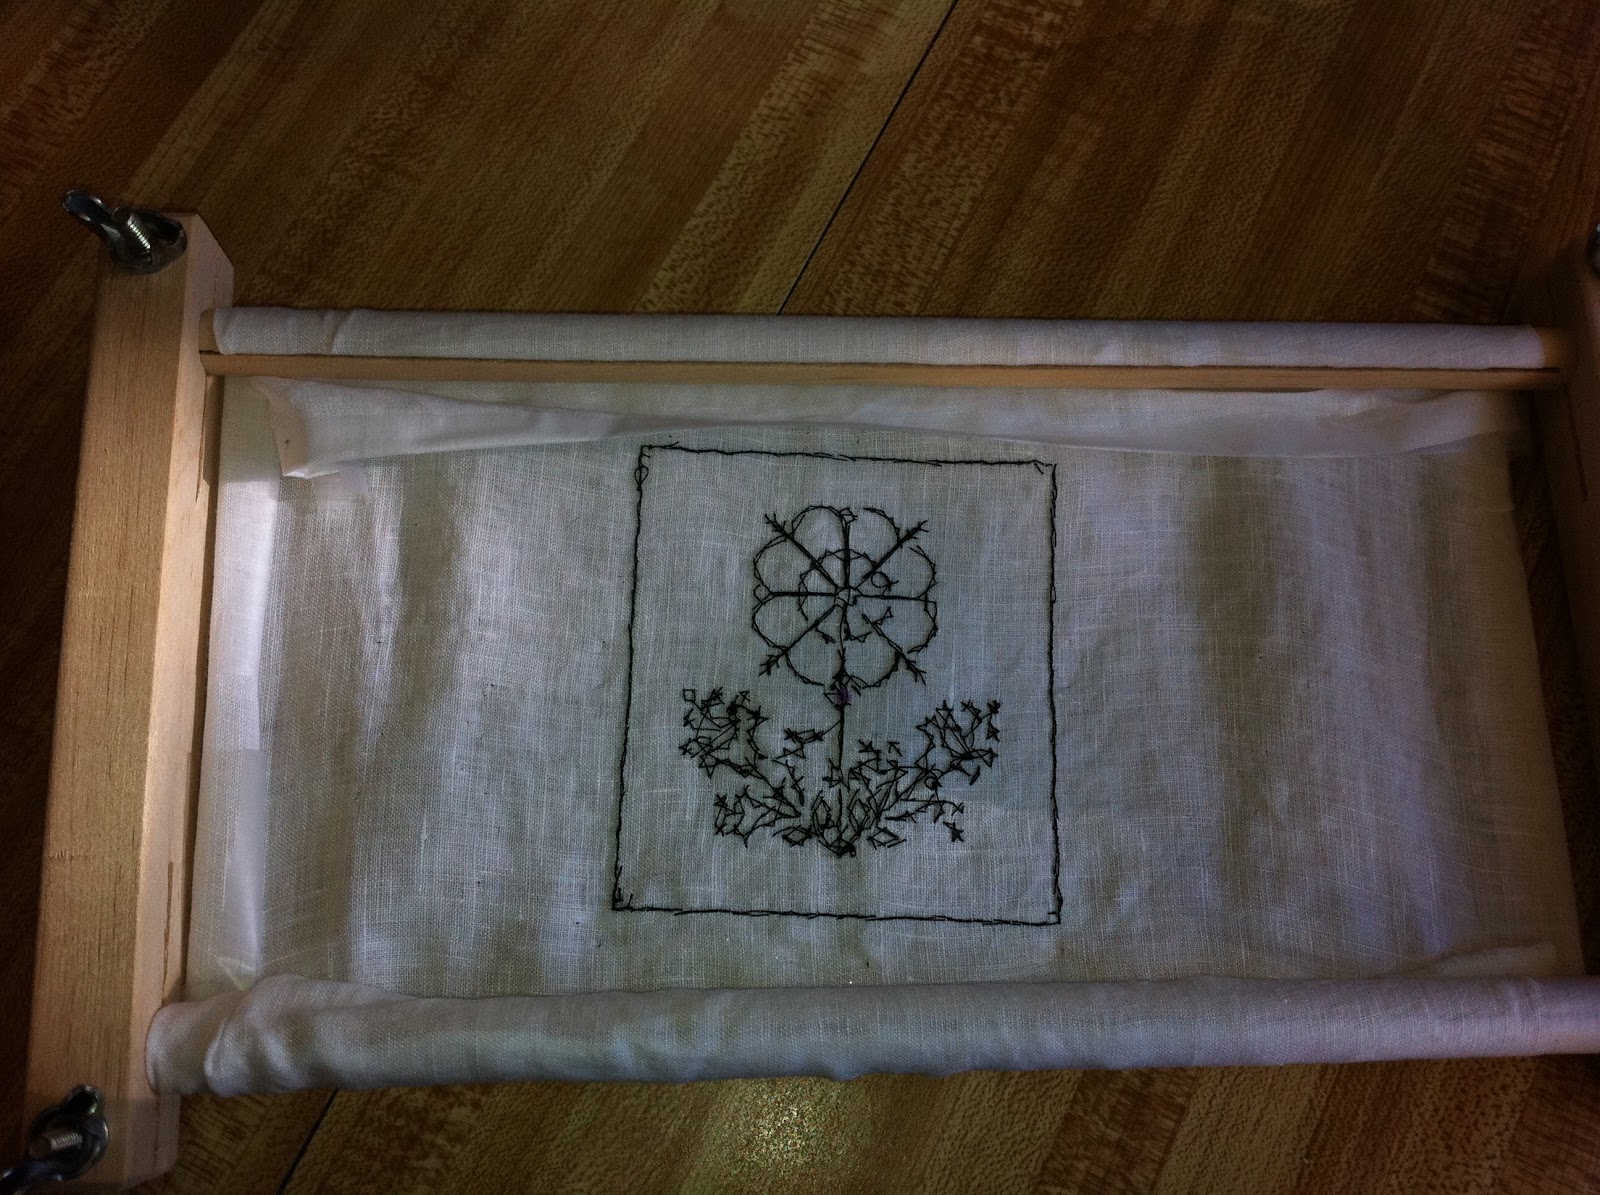
I have linen on hand for coifs and such, but it is finely woven, and not ideal for counting stitches. I cut a 10" x 10" square of linen that would fit in my new scroll frame for needle work.
 |
| Soluble Canvas by DMC |
Next - how to get the grid lines and pattern on to my linen? A wise person may have started with fabric that is designed for needlepoint, as is suggested in the book. But NO! I had to have linen! To help, I got a water soluble canvas, specifically for putting needlepoint and cross stitch onto fabric.
 |
| Pattern on soluble canvas pinned to linen |
Pleased with my clever solution, I marked the soluble canvas with the pattern. I used black sharpie, which was nicely visible, but also made it very difficult to see the black thread
.

The book mentions that regular sewing thread can be used, and I have tons, so I used that instead of embroidery floss. In hindsight, I may have gotten better results if I had used embroidery thread and used recommended fabrics for my first attempt.
The actual stitching went relatively quickly, less than 4 hours to complete the pattern. I used mostly back stitch, as recommended in the book. The back of the pattern doesn't look too bad. However, I know the back of needlepoint should resemble the front, and the backside of mine looks more like a cousin than a sibling. I can't tell what the front looks like, thanks to my black sharpie drawing on the front.
 |
| The backside of the pattern |


I soak the hankie in hot soapy water and instructed, and the soluble canvas actually does dissolve easily, with no drama.
 |
| After ironing |
All it needs now is hemming, perhaps I'll go wild and add some lace to the edges.
Maybe I will go brush the dust off of some of those old cross stitch projects. :)