


A fabric coif (also called a caul) suitable for middle and upper class Renaissance costumes is not hard to make, but doing it well does take some time and a few tricks. The effort is well worth it. Another advantage to using a linen hair covering, besides looking great with just about any costume, is it covers a modern hairstyle very well, and looks great alone or with another hat on top, like a tall hat or riding hat. Ribbon ties make the fit adjustable and secure.


To make the pattern:
Draw a 16"" circumference circle on your paper. You can use a compass, or the old standby of a string tied around a pin on one end and a pencil on the other. Stick the pin in the center and draw a circle with the pencil.
Next, use your ruler to create a grid on your pattern that will be sewn in metallic thread. I prefer a 1" square, but a wider pattern = less sewing!

Cutting the fabric:
Using the transfer paper and transfer wheel, mark the fabric with the pattern and sewing gridlines.

I like using a ruler or straight edge to help keep my lines straight when I mark them.

Cut out the circle, using scissors or rotary cutters.
Sewing:
Use the fabric scraps to check the tension and stitch length for the metallic thread. The thread is stretchy and gets tangled easily. I prefer a medium stitch and slightly loose tension. If the tension is too tight, you make get puckering of the fabric, too loose and the stitches will not meet correctly in the fabric.

Once the grid lines are complete, iron you fabric.

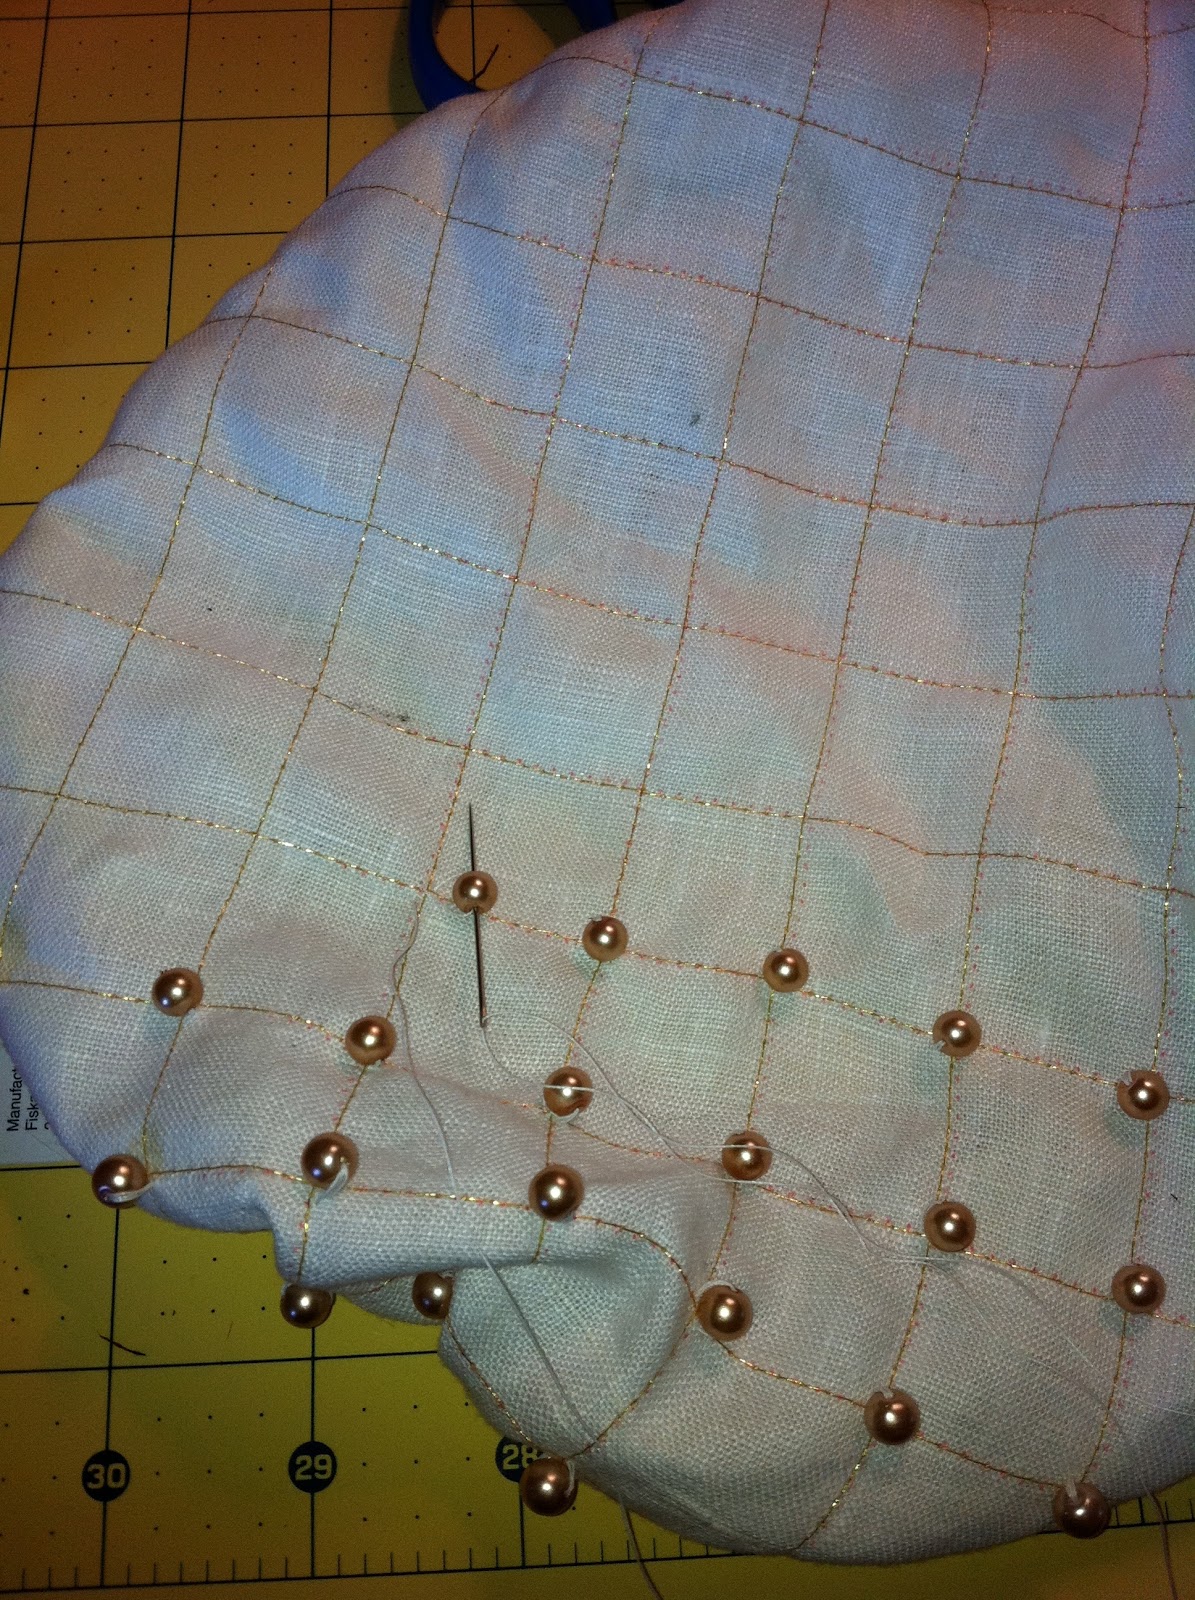
This is a good time to sew on your pearl beads. You can sew them at each intersection, alternating intersections, in the squares between, whatever you like. You can use semi-precious stone beads also, though pearls were very commonly used in the 1500's for hats, clothing and jewelry. Do not sew beads on the outer inch of the fabric, or they will get in the way of gathering and finishing the coif. Alternatively, you can sew the beads on after you have completed the caul (as shown below), but I find it easier to sew them on when the fabric is flat.
Marking the top & bottom with pins, run 2 rows of basting stictches around the outside edge of the circle at 1/4" and 1/2".
Pull the basting stitch thread ends to gather the fabric evenly around the circle. Gather it tightly enough to fit into your bias tape with the ends of the bais tape folded neatly under.
Fold the bais tape over the gathered circle edges and pin. Adjust your gathers if needed. Using your sewing maching and matching thread, sew the bais tape to the linen.
This is a good time to try the hat on and make sure it fits. A little loose is ok, but too tight should be corrected before you finish trimming the caul.
Ribbon Ties:
Match the center of your ribbon to the center on the caul, then pin the place on top of the bias tape, around the outside of the caul. plan to leave 4" gap unsewn at the bottom of the caul, so you can tighten the hat by tying the ribbons. Sew the ribbon in place, using matching threads. Use a dab of liquid stitch or other clear drying fabric glue on the ends of the ribbons to keep them from fraying.

Trim:
 Starting
from center, pin your trim around the outside edge of the caul. There
should be approximately a 4 inch gap at the bottom of the caul to allow
for the ties. Fold ends of trim under, or seal with clear fabric glue.
You can sew the trim on by hand, or you can sew by machine. Use a
thread to match the trim on top, and keep the bobbin thread with the
color that matches your linen for a more polished look.
Starting
from center, pin your trim around the outside edge of the caul. There
should be approximately a 4 inch gap at the bottom of the caul to allow
for the ties. Fold ends of trim under, or seal with clear fabric glue.
You can sew the trim on by hand, or you can sew by machine. Use a
thread to match the trim on top, and keep the bobbin thread with the
color that matches your linen for a more polished look.
Optional Hair Pins:
To make your caul even more secure on your head, run a loose basting stitch around the inside of the bias tape. When putting on the caul, put the hairpin through a thread loop, pushing forward toward your hairline. Scoop the pin downward, gathering up some hair, then slide in back under the caul, toward the back of your head. 5-10 pins around the outside edge of the caul will keep it firmly in place.
The final result looks great and is even comfortable to wear. I like to wear a small flat hat or riding bonnet over my coif, but I know some of my clients like to wear them alone or with a flower wreath. It also keeps your hair up off your neck on a hot day at Faire, no matter how much shopping you do.
To see more coifs, visit www.foliejolie.com